centos7.9安裝zabbix5.0.14及配置過程
目錄
- 一、基礎環(huán)境配置
- 二、安裝數(shù)據(jù)庫
- 三、安裝zabbix相關(guān)組件
- 四、配置Zabbix前端
一、基礎環(huán)境配置
1、關(guān)閉firewalld、關(guān)閉selinux
##關(guān)閉firewalldsystemctl stop firewalldsystemctl disabled firewalld##關(guān)閉selinuxsetenforce 0 && sed -i.bak "s/^SELINUX=.*/SELINUX=disabled/g" /etc/selinux/config
2、配置yum倉庫
配置zabbix倉庫
wget https://repo.zabbix.com/zabbix/5.0/rhel/7/x86_64/zabbix-release-5.0-1.el7.noarch.rpmyum install zabbix-release-5.0-1.el7.noarch.rpm##在/etc/yum.repos.d/中查看zabbix倉庫的配置情況[root@localhost opt]# cat /etc/yum.repos.d/zabbix.repo [zabbix]name=Zabbix Official Repository - $basearchbaseurl=http://repo.zabbix.com/zabbix/5.0/rhel/7/$basearch/enabled=1gpgcheck=1gpgkey=file:///etc/pki/rpm-gpg/RPM-GPG-KEY-ZABBIX-A14FE591[zabbix-frontend]name=Zabbix Official Repository frontend - $basearchbaseurl=http://repo.zabbix.com/zabbix/5.0/rhel/7/$basearch/frontendenabled=1gpgcheck=1gpgkey=file:///etc/pki/rpm-gpg/RPM-GPG-KEY-ZABBIX-A14FE591[zabbix-debuginfo]name=Zabbix Official Repository debuginfo - $basearchbaseurl=http://repo.zabbix.com/zabbix/5.0/rhel/7/$basearch/debuginfo/enabled=0gpgkey=file:///etc/pki/rpm-gpg/RPM-GPG-KEY-ZABBIX-A14FE591gpgcheck=1[zabbix-non-supported]name=Zabbix Official Repository non-supported - $basearchbaseurl=http://repo.zabbix.com/non-supported/rhel/7/$basearch/enabled=1gpgkey=file:///etc/pki/rpm-gpg/RPM-GPG-KEY-ZABBIXgpgcheck=1
配置mysql倉庫(zabbix監(jiān)控后臺需要用到mysql存儲)
##使用清華大學的鏡像倉庫[root@localhost opt]# cat /etc/yum.repos.d/mysql.repo [mysql]name=mysqlbaseurl=https://mirrors.tuna.tsinghua.edu.cn/mysql/yum/mysql-5.7-community-el7-x86_64/gpgcheck=0enabled=1
配置centos extras倉庫(后續(xù)的安裝需要用到此倉庫的軟件包)
[root@localhost opt]# cat /etc/yum.repos.d/centos-extras.repo [centos-extras]name=centos-extrasbaseurl=https://mirrors.tuna.tsinghua.edu.cn/centos/7.9.2009/extras/x86_64/enabled=1gpgcheck=0
二、安裝數(shù)據(jù)庫
yum install mysql-community-server
啟動mysql服務
systemctl start mysqlsystemctl enable mysql
在服務器初始啟動時,會發(fā)生以下情況:
服務器初始化。
SSL 證書和密鑰文件在數(shù)據(jù)目錄中生成。
validate_password 已安裝并啟用。
‘root"@"localhost創(chuàng)建了 一個超級用戶帳戶。超級用戶的密碼已設置并存儲在錯誤日志文件中。要顯示它,請使用以下命令:
[root@localhost opt]# grep "temporary password" /var/log/mysqld.log2021-08-16T08:00:40.185610Z 1 [Note] A temporary password is generated for root@localhost: r8EaYzX_Xper
通過使用生成的臨時密碼登錄并為超級用戶帳戶設置自定義密碼,盡快更改 root 密碼:
[root@localhost opt]# mysql -uroot -pEnter password: Welcome to the MySQL monitor. Commands end with ; or \g.Your MySQL connection id is 702Server version: 5.7.35 MySQL Community Server (GPL)Copyright (c) 2000, 2021, Oracle and/or its affiliates.Oracle is a registered trademark of Oracle Corporation and/or itsaffiliates. Other names may be trademarks of their respectiveowners.Type "help;" or "\h" for help. Type "\c" to clear the current input statement.mysql> ALTER USER "root"@"localhost" IDENTIFIED BY "xxxxxxx";
注意:
validate_password 默認安裝。執(zhí)行的默認密碼策略validate_password要求密碼至少包含1個大寫字母、1個小寫字母、1個數(shù)字和1個特殊字符,并且密碼總長度至少為8個字符。
修改一下mysql的配置文件,提高其性能
[root@centos7 ~]# vim /etc/my.cnf[mysqld] //在[mysqld]下面添加下面兩行skip_name_resolve =ONinnodb_file_per_table=ON
三、安裝zabbix相關(guān)組件
1、安裝zabbix-server
安裝zabbix-server和zabbix-agent
yum install zabbix-server-mysql zabbix-agent
安裝zabbix-get命令行工具(用于后期在客戶端部署angent是測試監(jiān)控項使用)
yum install zabbix-get
2、安裝frontend
啟用Red Hat Software Collections(方便安裝依賴包)
##這個軟件包在centos-extras倉庫中,所以之前配置了centos-extras倉庫yum install centos-release-scl
編輯配置文件 /etc/yum.repos.d/zabbix.repo and enable zabbix-frontend repository.
[zabbix-frontend]...enabled=1...
安裝Zabbix frontend packages
yum install zabbix-web-mysql-scl zabbix-nginx-conf-scl
安裝frontend時報錯
提示需要rh-php72-php-fpm,rh-nginx116-nginx等軟件包。
解決方法:
因為之前沒有安裝centos-release-scl,所以導致出現(xiàn)上述問題,配置好centos-extras倉庫后安裝即可
3.創(chuàng)建初始數(shù)據(jù)庫
# mysql -uroot -pxxxxxmysql> create database zabbix character set utf8 collate utf8_bin;mysql> create user zabbix@localhost identified by "xxxxxxx";mysql> grant all privileges on zabbix.* to zabbix@localhost;mysql> quit;
導入初始架構(gòu)和數(shù)據(jù),系統(tǒng)將提示您輸入新創(chuàng)建的密碼。
# zcat /usr/share/doc/zabbix-server-mysql*/create.sql.gz | mysql -uzabbix -p zabbix
4.為Zabbix server配置數(shù)據(jù)庫
編輯配置文件 /etc/zabbix/zabbix_server.conf
DBPassword=xxxxxxx
5.為Zabbix前端配置PHP
編輯配置文件 /etc/opt/rh/rh-nginx116/nginx/conf.d/zabbix.conf
##取消這兩行注釋listen 80;server_name example.com;##同時把提供默認的web服務的配置注釋掉vim /etc/opt/rh/rh-nginx116/nginx/nginx.conf...server {#listen 80 default_server;#listen [::]:80 default_server;server_name _;...##然后重啟服務編輯配置文件 /etc/opt/rh/rh-php72/php-fpm.d/zabbix.conf, 在listen.acl_users指令這一行添加nginx用戶(在安裝rh-nginx116-nginx時系統(tǒng)會自動創(chuàng)建)
listen.acl_users = apache,nginx##然后配置時區(qū)php_value[date.timezone] = Asia/Shanghai
6.啟動zabbix server和agent進程,并為它們設置開機自啟。
systemctl restart zabbix-server zabbix-agent rh-nginx116-nginx rh-php72-php-fpmsystemctl enable zabbix-server zabbix-agent rh-nginx116-nginx rh-php72-php-fpm
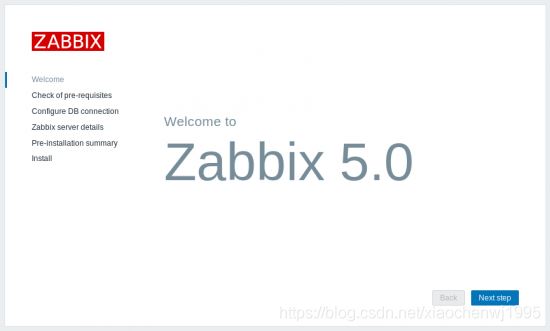
四、配置Zabbix前端
在瀏覽器中 打開 Zabbix 前端URL:
對于 Apache:http://<server_ip_or_name>/zabbix
對于 Nginx:http://<server_ip_or_name>
檢查先決條件
確保滿足所有軟件先決條件。
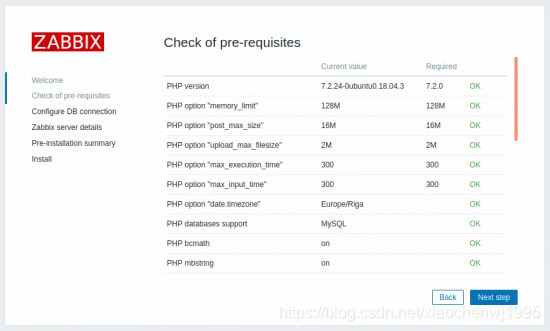
注意:如果需要更改Apache用戶或用戶組,則必須驗證對會話文件夾的權(quán)限。否則 Zabbix 安裝程序可能無法繼續(xù)。
配置數(shù)據(jù)庫連接
輸入連接到數(shù)據(jù)庫的詳細信息。Zabbix 數(shù)據(jù)庫必須已經(jīng)創(chuàng)建

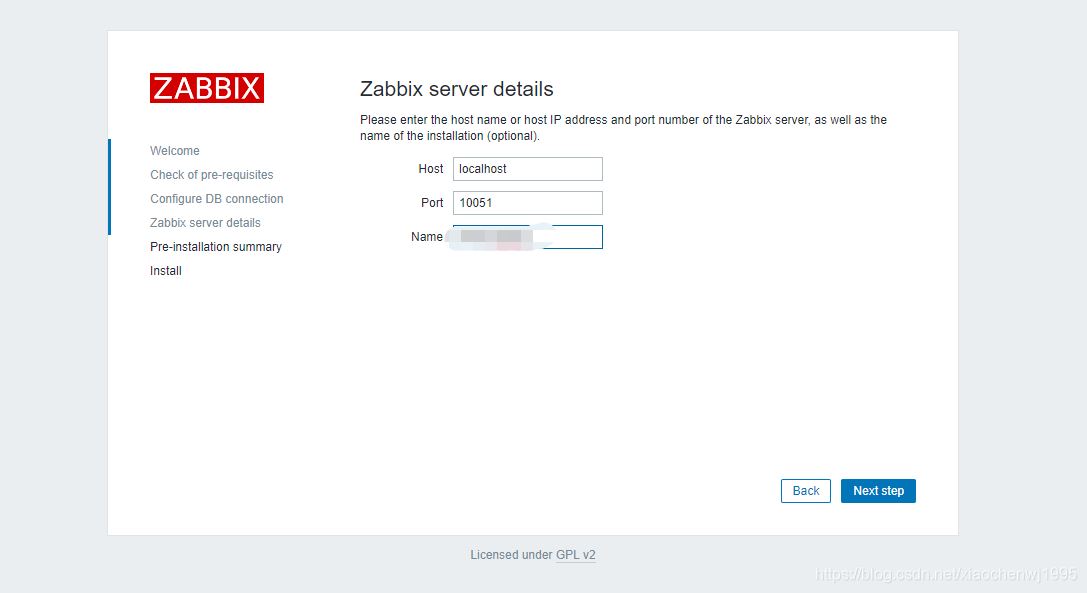
Zabbix 服務器詳細信息
輸入 Zabbix 服務器詳細信息。輸入 Zabbix 服務器的名稱是可選的
查看設置摘要。

安裝完成
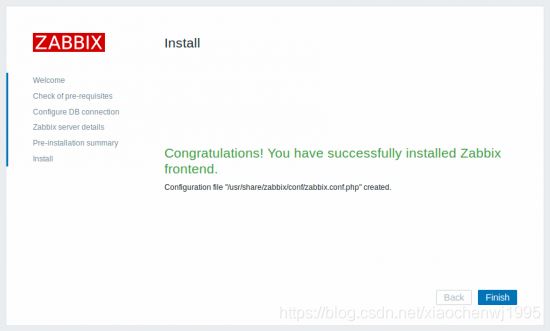
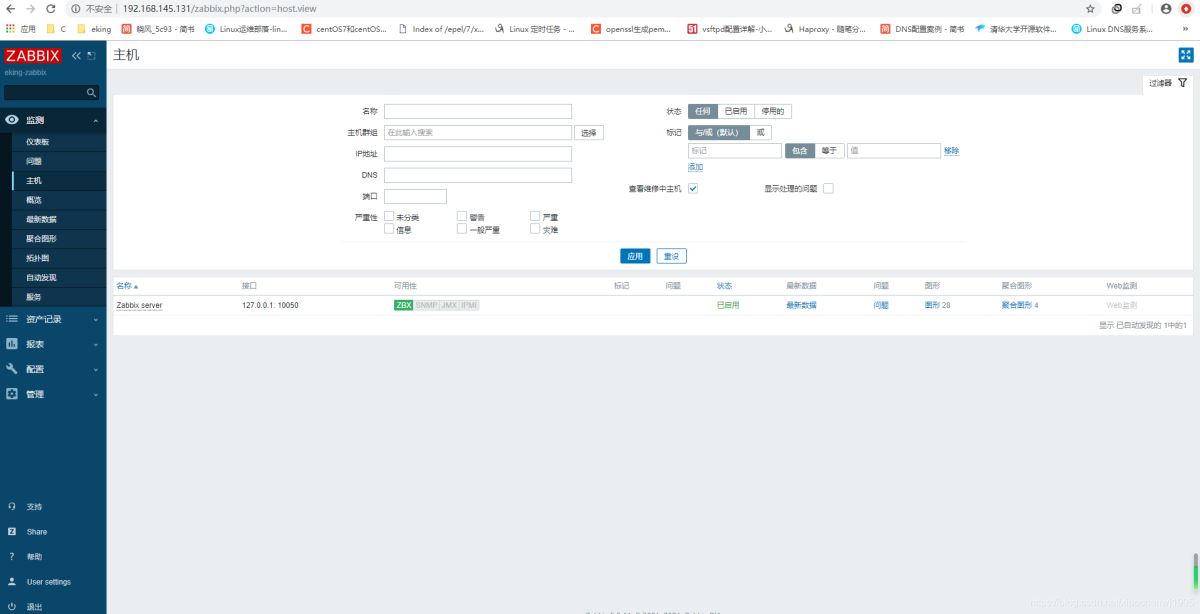
登錄
Zabbix 前端已準備就緒!默認用戶名為Admin,密碼為zabbix。

到此這篇關(guān)于centos7.9安裝zabbix5.0.14及配置過程的文章就介紹到這了,更多相關(guān)centos7.9安裝zabbix內(nèi)容請搜索以前的文章或繼續(xù)瀏覽下面的相關(guān)文章希望大家以后多多支持!
 網(wǎng)公網(wǎng)安備