MyBatis逆向工程生成dao層增刪改查的操作
int countByExample(BUserExample example); //根據(jù)條件查詢數(shù)量 /** * 示例 * public int countByExample() { * BUserExample userExample = new BUserExample(); * BUserExample.Criteria criteria = userExample.createCriteria(); * criteria.andUsernameEqualTo('fan'); * int count = userMapper.countByExample(userExample); * return count; * } * 相當(dāng)于:select count(*) from user where username = ’fan’ */ int deleteByExample(BUserExample example); //根據(jù)條件刪除數(shù)據(jù)(一條或多條) /** * 示例 * public int deleteByExample() { * BUserExample userExample = new BUserExample(); * BUserExample.Criteria criteria = userExample.createCriteria(); * criteria.andUsernameEqualTo('fan'); * int count = userMapper.deleteByExample(userExample); * return count; * } * 相當(dāng)于:delete from user where username = ’fan’ */ int deleteByPrimaryKey(Integer id); //根據(jù)主鍵刪除數(shù)據(jù) int insert(BUser record); //插入數(shù)據(jù)(插入一條數(shù)據(jù)) int insertSelective(BUser record); //插入數(shù)據(jù)(插入一條數(shù)據(jù),只插入不為null的字段,不會影響有默認(rèn)值的字段) List<BUser> selectByExample(BUserExample example); //根據(jù)條件查詢數(shù)據(jù) /** * 示例: * public List<BUser> getList() { * BUserExample userExample = new BUserExample(); * BUserExample.Criteria criteria = userExample.createCriteria(); * criteria.andUsernameEqualTo('fan'); * userExample.setOrderByClause('username desc'); * List<BUser> users = userMapper.selectByExample(userExample); * return users; * } * 相當(dāng)于:select * from user where username = ’fan’ order by username desc */ BUser selectByPrimaryKey(Integer id); //根據(jù)主鍵查詢 int updateByExampleSelective(@Param('record') BUser record, @Param('example') BUserExample example); //按條件更新值不為null的字段 /** * 示例: * public int updateByParam(String username) { * BUserExample userExample = new BUserExample(); * BUserExample.Criteria criteria = userExample.createCriteria(); * criteria.andUsernameEqualTo(username); * BUser user = new BUser(); * user.setNickname('jdk'); * int update = userMapper.updateByExampleSelective(user, userExample); * return update; * } * 相當(dāng)于:update user set nickname = ’jdk’ where username = #{username} */ int updateByExample(@Param('record') BUser record, @Param('example') BUserExample example); //按條件更新 int updateByPrimaryKeySelective(BUser record); //根據(jù)主鍵與條件更新 /** * 示例: * public int updateByIdAndParam(String username) { * BUser user = new BUser(); * user.setId(101); * user.setUsername(username); * int update = userMapper.updateByPrimaryKeySelective(user); * return update; * } * 相當(dāng)于:update user set username = #{username} where id = 101 */ int updateByPrimaryKey(BUser record); //根據(jù)主鍵更新Mybatis反向工程的使用
為什么要使用反向工程,因?yàn)椋彀 _\(yùn)行一下就可以自動生成,實(shí)現(xiàn),一堆表的增刪查改,等于多了個人幫忙工作,為什么不呢 ?
但與別的工具一樣,自動生成的東西總是有方便的地方,也會有麻煩的地方。所以,使用前要留點(diǎn)心眼。要不工具變負(fù)累,對個人還好 對團(tuán)隊(duì)就變禍害了。
因此,下面的教程除了說如何使用,還會說 一個比較重要的技巧和心得,如果有更好的方法,或我說的有什么不對,請直接指出。謝謝
如有問題可以在下面留言,但我不一定有時間回復(fù)。
首先,用eclipse 建一個maven 項(xiàng)目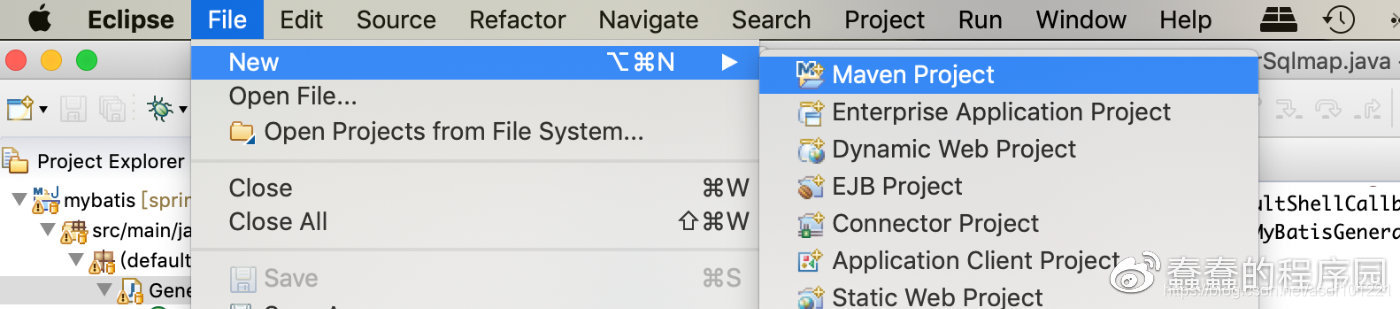
建一個maven 項(xiàng)目
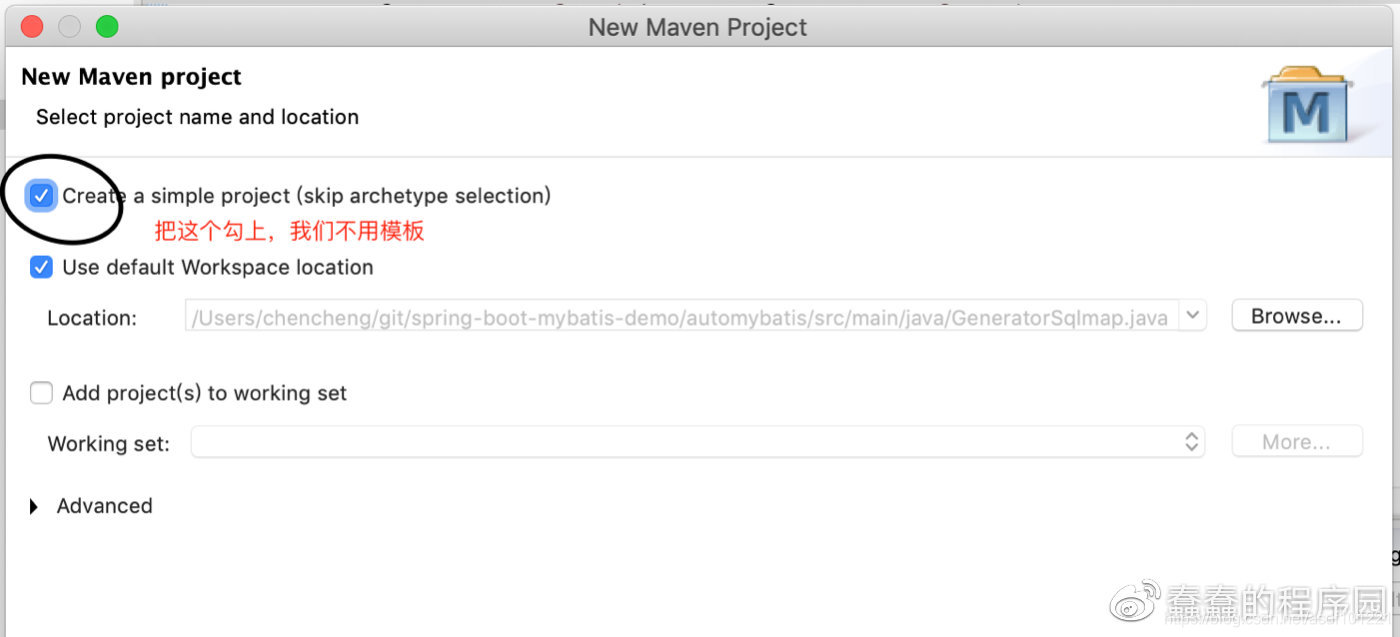
打好勾點(diǎn)next
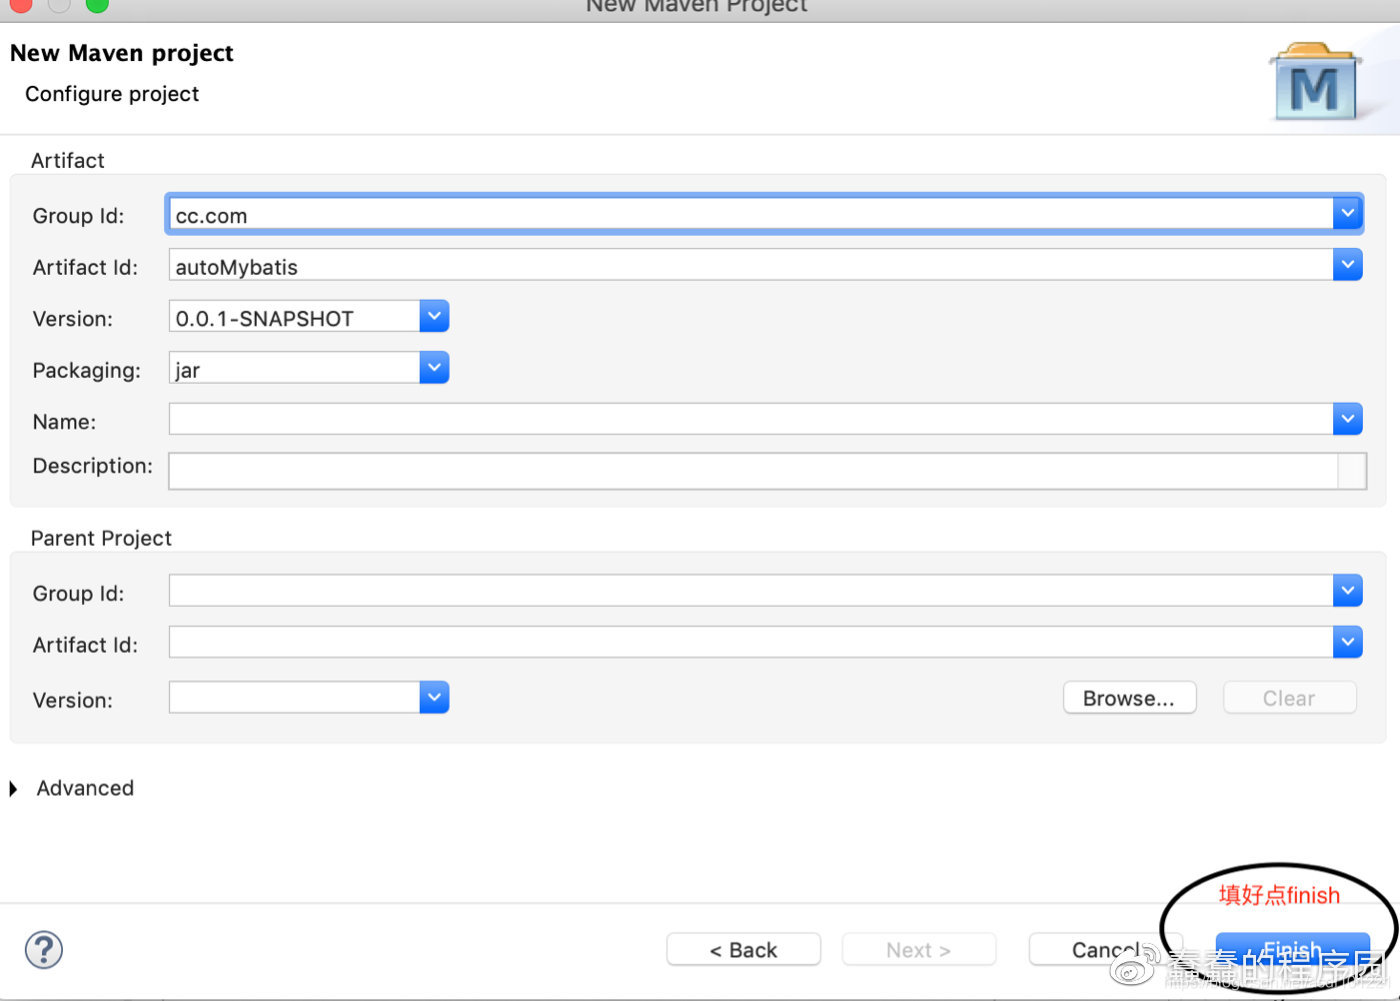
填好點(diǎn)finish
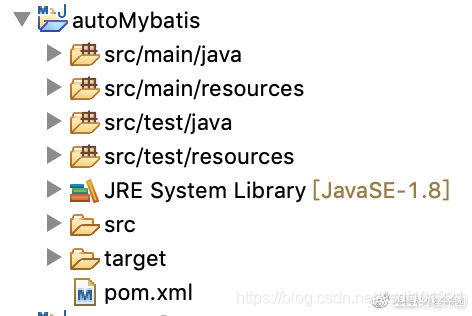
打開pom.xml 文件
把如下內(nèi)容復(fù)制進(jìn)去:
<project xmlns='http://maven.apache.org/POM/4.0.0' xmlns:xsi='http://www.w3.org/2001/XMLSchema-instance' xsi:schemaLocation='http://maven.apache.org/POM/4.0.0 http://maven.apache.org/xsd/maven-4.0.0.xsd'> <modelVersion>4.0.0</modelVersion> <groupId>cc.com</groupId> <artifactId>autoMybatis</artifactId> <version>0.0.1-SNAPSHOT</version> <dependencies> <!-- mybatis依賴 --> <dependency><groupId>org.mybatis</groupId><artifactId>mybatis</artifactId><version>3.2.5</version></dependency><!-- 反向工程支持包 --> <dependency> <groupId>org.mybatis.generator</groupId> <artifactId>mybatis-generator-core</artifactId> <version>1.3.2</version> </dependency> <!-- mysql 驅(qū)動 --><dependency> <groupId>mysql</groupId> <artifactId>mysql-connector-java</artifactId> <version>5.1.38</version> </dependency> </dependencies></project>
然后新建如下包:
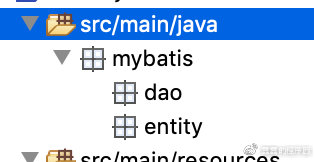
mybatis.dao (用于放mapper 的java 接口)
mybatis.entity (用于放實(shí)體對象)
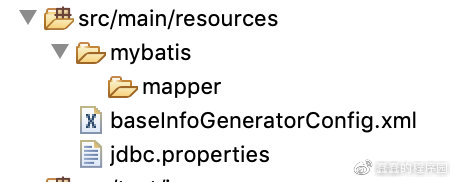
在src/main/resources 下新建目錄mybatis及它的子目錄mapper
新建baseInfoGeneratorConfig.xml文件
新建jdbc.properties文件
拷貝如下內(nèi)容進(jìn)jdbc.properties 要改為正確地址,用戶名, 密碼
jdbc.driver=com.mysql.jdbc.Driverjdbc.url=jdbc:mysql://localhost:3306/base_info?useSSL=falsejdbc.username=rootjdbc.password=自已改密碼
拷如下內(nèi)容進(jìn)入baseInfoGeneratorConfig.xml
<?xml version='1.0' encoding='UTF-8'?> <!DOCTYPE generatorConfiguration PUBLIC '-//mybatis.org//DTD MyBatis Generator Configuration 1.0//EN' 'http://mybatis.org/dtd/mybatis-generator-config_1_0.dtd'><generatorConfiguration> <properties resource='jdbc.properties' /> <context targetRuntime='MyBatis3'> <!-- 生成的pojo,將implements Serializable--> <plugin type='org.mybatis.generator.plugins.SerializablePlugin'></plugin> <commentGenerator><!-- 是否去除自動生成的注釋 true:是 : false:否 --><property name='suppressAllComments' value='true' /> </commentGenerator><!-- 數(shù)據(jù)庫鏈接URL、用戶名、密碼 --> <jdbcConnection driverClass='${jdbc.driver}' connectionURL='${jdbc.url}' userId='${jdbc.username}' password='${jdbc.password}'> </jdbcConnection><!-- 默認(rèn)false,把JDBC DECIMAL 和 NUMERIC 類型解析為 Integertrue,把JDBC DECIMAL 和 NUMERIC 類型解析為java.math.BigDecimal --> <javaTypeResolver><property name='forceBigDecimals' value='false' /> </javaTypeResolver><!-- 生成model模型,對應(yīng)的包路徑,以及文件存放路徑(targetProject),targetProject可以指定具體的路徑,如./src/main/java, 也可以使用“MAVEN”來自動生成,這樣生成的代碼會在target/generatord-source目錄下 --> <!--<javaModelGenerator targetPackage='com.joey.mybaties.test.pojo' targetProject='MAVEN'>--> <javaModelGenerator targetPackage='mybatis.entity' targetProject='./src/main/java'><property name='enableSubPackages' value='true'/><!-- 從數(shù)據(jù)庫返回的值被清理前后的空格 --><property name='trimStrings' value='true' /> </javaModelGenerator><!--對應(yīng)的mapper.xml文件 --> <sqlMapGenerator targetPackage='mybatis.mapper' targetProject='./src/main/resources'><property name='enableSubPackages' value='true'/></sqlMapGenerator><!-- 對應(yīng)的Mapper接口類文件 --> <javaClientGenerator type='XMLMAPPER' targetPackage='mybatis.dao' targetProject='./src/main/java'> <property name='enableSubPackages' value='true'/> </javaClientGenerator> <!-- 你可以改成一張數(shù)據(jù)庫中真正存在的表 schema 指的是schema,在mysql 中我發(fā)現(xiàn)填錯也能跑。tableName 是表名 ObjectName 是對象名--><table schema='base_info' tableName='user_info' domainObjectName='userInfo' enableCountByExample='false' enableUpdateByExample='false' enableDeleteByExample='false' enableSelectByExample='false' selectByExampleQueryId='false' ><property name='useActualColumnNames' value='false'/> </table></context> </generatorConfiguration>
上面的都搞好
現(xiàn)在要寫一下代碼了在根目錄下建一個 GeneratorSqlmap.java 的JAVA 類
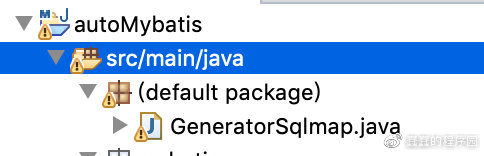
然后把以下內(nèi)容覆蓋 GeneratorSqlmap.java 文件
import java.io.File;import java.util.ArrayList;import java.util.List; import org.mybatis.generator.api.MyBatisGenerator;import org.mybatis.generator.config.Configuration;import org.mybatis.generator.config.xml.ConfigurationParser;import org.mybatis.generator.internal.DefaultShellCallback; public class GeneratorSqlmap {public void generator(String generatorConfigFilePath) throws Exception{List<String> warnings = new ArrayList<String>();boolean overwrite = true;Class.forName('com.mysql.jdbc.Driver');//指定 逆向工程配置文件File configFile = new File(generatorConfigFilePath); ConfigurationParser cp = new ConfigurationParser(warnings);Configuration config = cp.parseConfiguration(configFile);DefaultShellCallback callback = new DefaultShellCallback(overwrite);MyBatisGenerator myBatisGenerator = new MyBatisGenerator(config,callback, warnings);myBatisGenerator.generate(null); }public static void main(String[] args) throws Exception {try {GeneratorSqlmap generatorSqlmap = new GeneratorSqlmap();//這里要填對配置文件路徑generatorSqlmap.generator('src/main/resources/baseInfoGeneratorConfig.xml');} catch (Exception e) {e.printStackTrace();}System.exit(0);} }
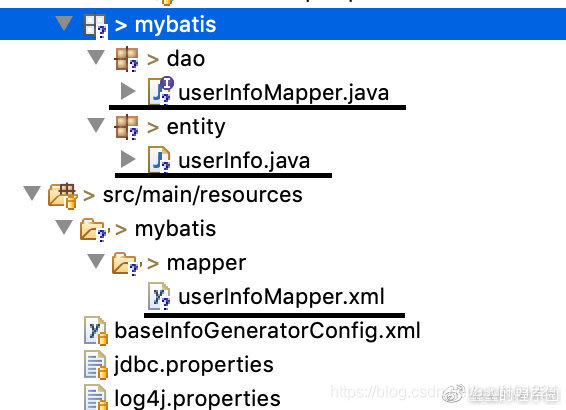
最后運(yùn)行,GeneratorSqlmap.java ,然后刷新一下項(xiàng)目,就可以得到非常漂亮的,表的entity,mapper interface,mapper xml
以上的代碼可以在下面的github鏈接中找到
現(xiàn)在我們分享一個,能讓自動生成和手工修改和平共存的方法。
為什么要和平共存,因?yàn)椋跀?shù)據(jù)庫表中要加或減一個字段,重復(fù)自動生成有可能覆蓋掉原來的。
這里有個經(jīng)過實(shí)驗(yàn)的方案,首先在我們生成完第一次沒有問題后,把baseInfoGeneratorConfig.xml 中的生成pojo(entity 你愛叫什么叫什么)
<!-- 生成model模型,對應(yīng)的包路徑,以及文件存放路徑(targetProject),targetProject可以指定具體的路徑,如./src/main/java, 也可以使用“MAVEN”來自動生成,這樣生成的代碼會在target/generatord-source目錄下 --> <!--<javaModelGenerator targetPackage='com.joey.mybaties.test.pojo' targetProject='MAVEN'>--> <javaModelGenerator targetPackage='mybatis.entity' targetProject='./src/main/java'><property name='enableSubPackages' value='true'/><!-- 從數(shù)據(jù)庫返回的值被清理前后的空格 --><property name='trimStrings' value='true' /> </javaModelGenerator>
還有生成接口的
<!-- 對應(yīng)的Mapper接口類文件 --> <javaClientGenerator type='XMLMAPPER' targetPackage='mybatis.dao' targetProject='./src/main/java'> <property name='enableSubPackages' value='true'/> </javaClientGenerator>
的注掉
然后,不要修改系統(tǒng)自動生成的 mapper.xml

(可以為配置文件中改個特別一點(diǎn)的名字(例如帶上sys),跟團(tuán)隊(duì)的成員說一下就可以了。
然后,別外寫一個XML mapper 用于開發(fā)
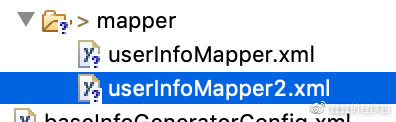
只要namespace 是相同的,還是會在對應(yīng)的接口中生成
例如,我們在新的xml文件中這樣寫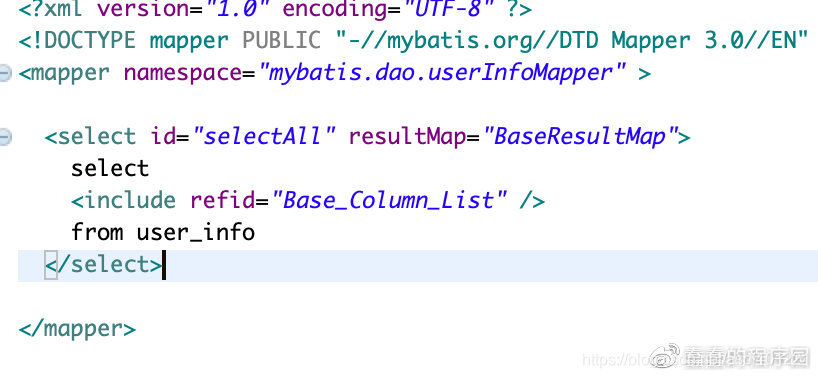
只需要在系統(tǒng)生成的JAVA接口中增加:

這樣一來,如果數(shù)據(jù)庫需要增加字段。只需簡單的三步就可以。
一,把系統(tǒng)生成的配置文件刪了。 二,運(yùn)行自動生成。 三,把新加的字段在對應(yīng)的pojo(或叫entity 中增加)就可以,很好的把自動生成和手工修改做出分離。同時也會減少很多不應(yīng)該出現(xiàn)的錯誤。
以上為個人經(jīng)驗(yàn),希望能給大家一個參考,也希望大家多多支持好吧啦網(wǎng)。
相關(guān)文章:
1. 高并發(fā)狀態(tài)下Replace Into造成的死鎖問題解決2. Access 執(zhí)行SQL的方法3. SQLSERVER 臨時表和表變量的區(qū)別匯總4. SQLite 性能優(yōu)化實(shí)例分享5. Window7安裝MariaDB數(shù)據(jù)庫及系統(tǒng)初始化操作分析6. Centos7 下mysql重新啟動MariaDB篇7. MariaDB中1045權(quán)限錯誤導(dǎo)致拒絕用戶訪問的錯誤解決方法8. MySQL該如何判斷不為空詳析9. centos 7安裝mysql5.5和安裝 mariadb使用的命令10. mysql無法成功啟動服務(wù)的解決方法(通俗易懂!)

 網(wǎng)公網(wǎng)安備