springboot擴展MVC的方法
自定義 config -> SpringMvcConfig.java

下邊就是擴展springMVC的模板:
第一步:@Configuration 注解的作用:讓這個類變為配置類。第二步:必須實現 WebMvcConfigurer 接口。第三步:重寫對應的方法。
package com.lxc.springboot.config; import org.springframework.context.annotation.Configuration;import org.springframework.web.servlet.config.annotation.WebMvcConfigurer; /** * @擴展springMVC * 第一步: * @Configuration 注解的作用:讓這個類變為配置類 * 第二步: * 必須實現 WebMvcConfigurer 接口 */ @Configurationpublic class SpringMvcConfig implements WebMvcConfigurer {}
上邊這個類是一個基礎的模板,什么意思呢,拿controller為例,在controller控制器中,我們需要定義頁面api接口,及跳轉頁面等功能,除了這樣配置以外,還有一種配置寫法就是寫在自定義的SpringMvcConfig.java 中,里邊核心必須給類加上@Configuration,讓spring知道這個類是配置類,其次,還要實現 WebMvcConfigrer 接口,因為這個接口中有我們需要重寫的功能。
接下來,實現controller控制器的功能,前提需要重寫方法,以下是所有重寫的方法,根據需要來吧,我們來重寫addViewContrllers方法:
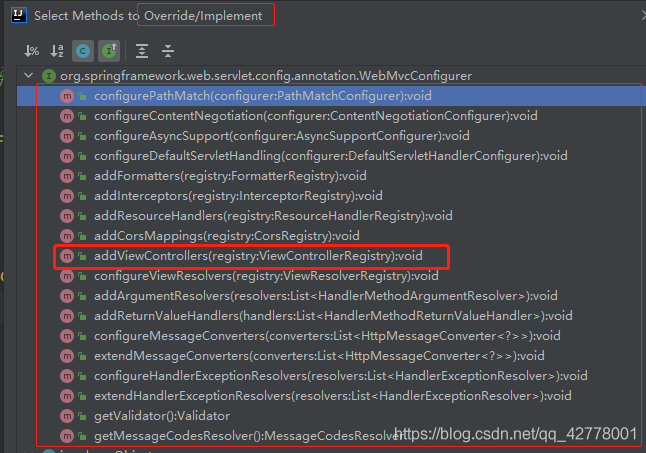
package com.lxc.springboot.config; import org.springframework.context.annotation.Configuration;import org.springframework.web.servlet.config.annotation.ViewControllerRegistry;import org.springframework.web.servlet.config.annotation.WebMvcConfigurer; @Configurationpublic class SpringMvcConfig implements WebMvcConfigurer { @Override public void addViewControllers(ViewControllerRegistry registry) {// /viewTest:訪問的路徑;thymeleafPage:視圖名registry.addViewController('/testPage').setViewName('thymeleafPage'); }}
thymeleafPage.html
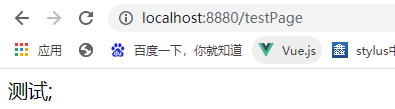
<!DOCTYPE html><html xmlns:th='http://www.thymeleaf.org'><html lang='en'><head><meta charset='UTF-8'><title>Title</title></head><body> <div>測試;</div></body></html>
測試:
到此這篇關于springboot擴展MVC的方法的文章就介紹到這了,更多相關springboot擴展MVC內容請搜索好吧啦網以前的文章或繼續瀏覽下面的相關文章希望大家以后多多支持好吧啦網!
相關文章:
 網公網安備
網公網安備