讓ChatGPT解讀Vue3源碼過程解析
目錄
- 前言
- 實戰
- setup
- 小結
- 總結
前言
ChatGPT 最近十分火爆,今天我也來讓 ChatGPT 幫我閱讀一下 Vue3 的源代碼。
都知道 Vue3 組件有一個 setup函數。那么它內部做了什么呢,今天跟隨 ChatGPT 來一探究竟。
實戰
setup
setup 函數在什么位置呢,我們不知道他的實現函數名稱,于是問一下 ChatGPT:
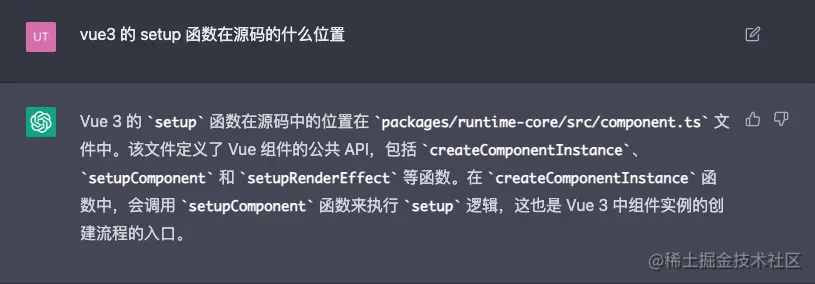
ChatGPT 告訴我,setup 函數在packages/runtime-core/src/component.ts 文件中。眾所周知,runtime-core是 Vue3 的運行時核心代碼。我們進去看一眼。
按照它所說的,我們找到了 setupComponent 和 createComponentInstance 函數,并沒有找到 setupRenderEffect 函數,ChatGPT 的只知道 2021 年以前的知識,Vue3 代碼經過了很多變動,不過沒關系,這不影響太多。
ChatGPT 告訴我,setupComponent 函數是在createComponentInstance函數中執行的,createComponentInstance看名字是創建組件實例,看一下詳細代碼。
直接復制給 ChatGPT:

我們根據 ChatGPT 的解釋來閱讀代碼,發現createComponentInstance只是創建了組件的實例并返回。并沒有像它上面說的在函數中執行了 setupComponent,笨笨的 ChatGPT。
那就自己找一下setupComponent是在哪里被調用的。
可以packages/runtime-core/搜一下函數名,很快就找到了。在packages/runtime-core/src/renderer.ts文件中的mountComponent函數中。
mountComponent 是掛載組件的方法,前面還有一堆自定義渲染器的邏輯,不在此篇展開。
const mountComponent: MountComponentFn = (...args) => { const instance: ComponentInternalInstance = compatMountInstance || (initialVNode.component = createComponentInstance(initialVNode,parentComponent,parentSuspense )) // ... 省略代碼 // resolve props and slots for setup context if (!(__COMPAT__ && compatMountInstance)) {// ...這里調用了setupComponent,傳入了實例,還寫了注釋,感人 setupComponent(instance) } // setupRenderEffect 居然也在這 setupRenderEffect( instance, initialVNode, container, anchor, parentSuspense, isSVG, optimized ) }mountComponent函數先調用了createComponentInstance, 返回個組件實例,又把實例當作參數傳給了 setupComponent。順便我們還在這發現了 ChatGPT 搞丟的setupRenderEffect函數,它是用來處理一些渲染副作用的。
回到 setupComponent函數,Evan 的注釋告訴我們它是處理 props 和 slots 的。
export function setupComponent( instance: ComponentInternalInstance, isSSR = false) { isInSSRComponentSetup = isSSR const { props, children } = instance.vnode const isStateful = isStatefulComponent(instance) initProps(instance, props, isStateful, isSSR) initSlots(instance, children) const setupResult = isStateful ? setupStatefulComponent(instance, isSSR) : undefined isInSSRComponentSetup = false return setupResult}把代碼喂給 ChatGPT:
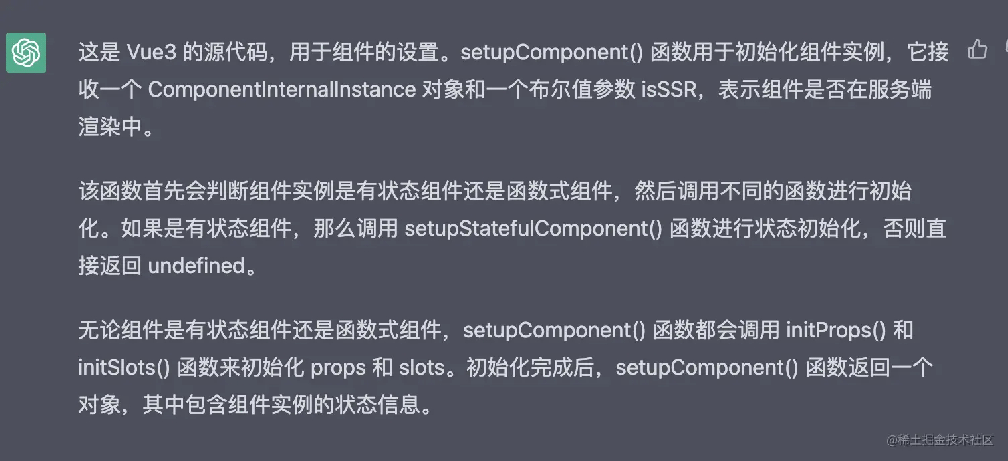
setupComponent 函數中,處理完 props 和 slots 后,根據是否是有狀態組件調用了setupStatefulComponent。
直接整個 setupStatefulComponent喂給 ChatGPT:

太長了,大概意思:
- 創建了代理緩存accessCache,干嘛用的咱也不知道,可以問 ChatGPT
- 創建公共實例代理對象(proxy)
- 執行組件的 setup()
后續操作是調用 handleSetupResult 和 finishComponentSetup 返回渲染函數。開始走渲染邏輯了。
小結
小結一下setup的始末:
- 從組件掛載開始調用
createComponentInstance創建組件實例 - 傳遞組件實例給
setupComponent setupComponent內部初始化 props 和 slotssetupStatefulComponent執行組件的setup- 完成 setup 流程
- 返回渲染函數
- ...
總結
ChatGPT 很強大,也很笨,畢竟它不聯網,且只有 2021 年以前的數據。可用來幫助我們讀一下晦澀的源碼還是可以的,但也只能輔助作用,還需要自己的思考。
以上就是讓ChatGPT解讀Vue3源碼過程解析的詳細內容,更多關于ChatGPT讀Vue3源碼的資料請關注其它相關文章!

 網公網安備
網公網安備