python GUI庫圖形界面開發之PyQt5窗口背景與不規則窗口實例
窗口背景主要包括,背景色與背景圖片,設置窗口背景有三種方法
使用QSS設置窗口背景 使用QPalette設置窗口背景 實現PainEvent,使用QPainter繪制背景QSS設置窗口背景在QSS中,我們可以使用Background或者background-color的方式來設置背景色,設置窗口背景色之后,子控件默認會繼承父窗口的背景色,如果想要為控件設置背景圖片或圖標,則可以使用setPixmap或則setIcon來完成。關于這兩個函數的用法,可以參考本博客下的PyQt5的基礎控件分欄
實例:QSS設置窗口背景
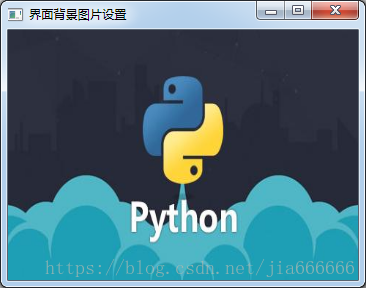
import sysfrom PyQt5.QtWidgets import QMainWindow, QApplicationapp = QApplication(sys.argv)win = QMainWindow()#設置窗口標題與初始大小win.setWindowTitle('界面背景圖片設置')win.resize(350, 250)#設置對象名稱win.setObjectName('MainWindow')# #todo 1 設置窗口背景圖片win.setStyleSheet('#MainWindow{border-image:url(./images/python.jpg);}')#todo 2 設置窗口背景色#win.setStyleSheet('#MainWindow{background-color: yellow}')win.show()sys.exit(app.exec_())
運行效果圖如下
核心代碼如下
#設置對象名稱win.setObjectName('MainWindow')# #todo 1 設置窗口背景圖片win.setStyleSheet('#MainWindow{border-image:url(./images/python.jpg);}')
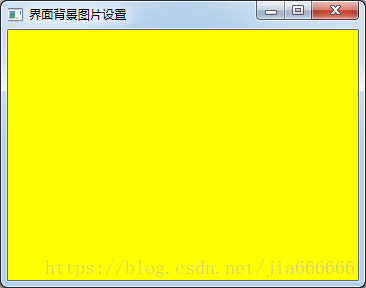
優化 使用setStyleSheet()設置窗口背景色,核心代碼和效果圖如下
#todo 2 設置窗口背景色win.setStyleSheet('#MainWindow{background-color: yellow}')
當使用QPalette(調試板)來設置背景圖片時,需要考慮背景圖片的尺寸
圖片尺寸可以文件管理器打開,右鍵屬性查看
當背景圖片的寬度高度大于窗口的寬度高度時,背景圖片會平鋪整個背景
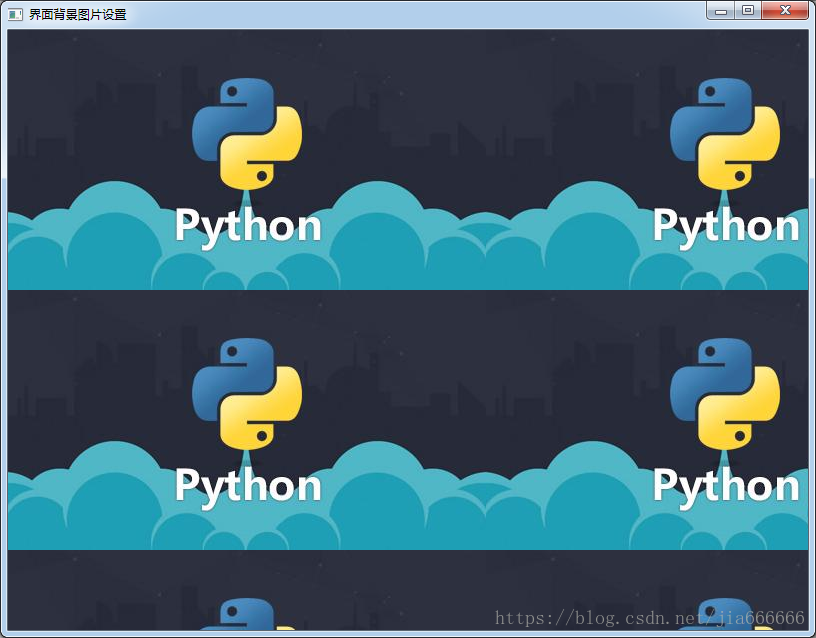
當背景圖片寬度高度小于窗口的寬度高度時,則會加載多個背景圖片
實例:QPalette設置窗口背景
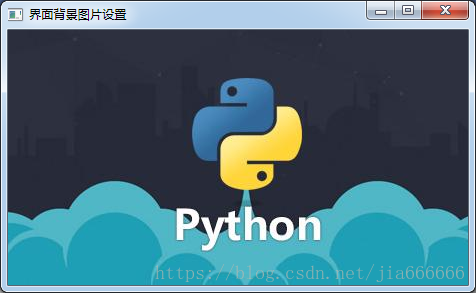
import sysfrom PyQt5.QtWidgets import QMainWindow, QApplicationfrom PyQt5.QtGui import QPalette, QBrush, QPixmapapp = QApplication(sys.argv)win = QMainWindow()win.setWindowTitle('界面背景圖片設置')palette = QPalette()palette.setBrush(QPalette.Background, QBrush(QPixmap('./images/python.jpg')))win.setPalette(palette)# todo 1 當背景圖片的寬度和高度大于窗口的寬度和高度時win.resize(460, 255 )## # todo 2 當背景圖片的寬度和高度小于窗口的寬度和高度時# win.resize(800, 600)win.show()sys.exit(app.exec_())
當背景圖片的寬度高度大于窗口的寬度高度時,背景圖片會平鋪整個背景
當背景圖片寬度高度小于窗口的寬度高度時,則會加載多個背景圖片
核心代碼如下
win.setWindowTitle('界面背景圖片設置')palette = QPalette()palette.setBrush(QPalette.Background, QBrush(QPixmap('./images/python.jpg')))win.setPalette(palette)# todo 1 當背景圖片的寬度和高度大于窗口的寬度和高度時win.resize(460, 255 )## # todo 2 當背景圖片的寬度和高度小于窗口的寬度和高度時# win.resize(800, 600)PaintEvent設置窗口背景
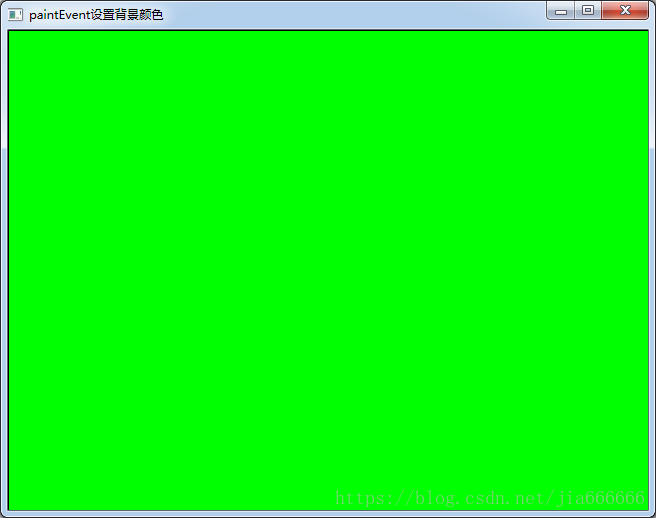
import sysfrom PyQt5.QtWidgets import QApplication, QWidgetfrom PyQt5.QtGui import QPainter,QPixmapfrom PyQt5.QtCore import Qtclass Winform(QWidget): def __init__(self, parent=None): super(Winform, self).__init__(parent) self.setWindowTitle('paintEvent設置背景顏色') def paintEvent(self, event): painter = QPainter(self) #todo 1 設置背景顏色 painter.setBrush(Qt.green) painter.drawRect(self.rect()) # #todo 2 設置背景圖片,平鋪到整個窗口,隨著窗口改變而改變 # pixmap = QPixmap('./images/screen1.jpg') # painter.drawPixmap(self.rect(), pixmap)if __name__ == '__main__': app = QApplication(sys.argv) form = Winform() form.show() sys.exit(app.exec_())
核心代碼:使用paintEvent設置窗口的背景色
class Winform(QWidget): def __init__(self, parent=None): super(Winform, self).__init__(parent) self.setWindowTitle('paintEvent設置背景顏色') def paintEvent(self, event): painter = QPainter(self) #todo 1 設置背景顏色 painter.setBrush(Qt.green) painter.drawRect(self.rect())
效果如圖
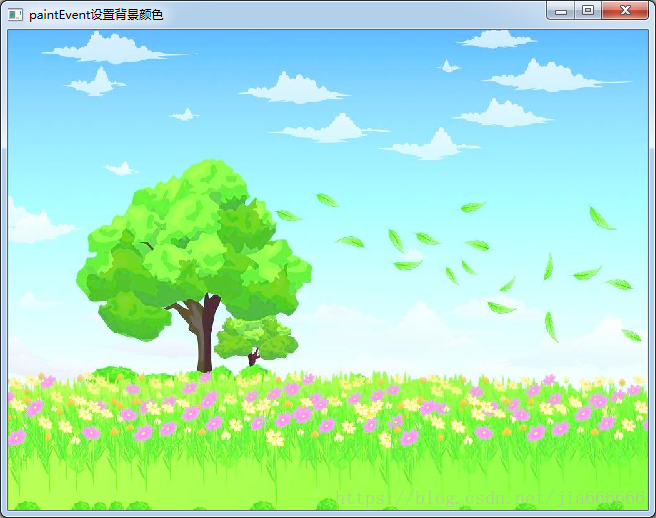
核心代碼:設置窗口背景圖片
# #todo 2 設置背景圖片,平鋪到整個窗口,隨著窗口改變而改變pixmap = QPixmap('./images/screen1.jpg')painter.drawPixmap(self.rect(), pixmap)
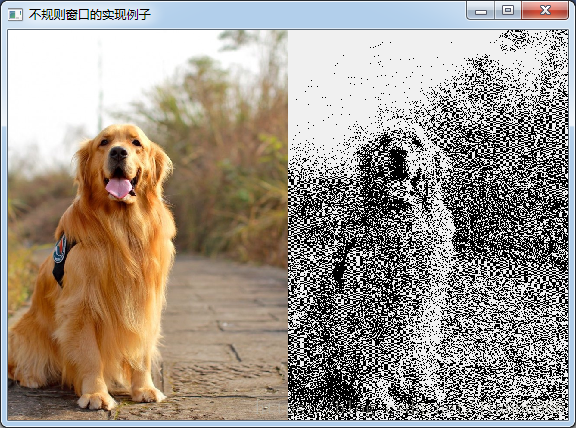
實現不規則窗口的最簡單方式就是圖片素材不僅當遮罩層,還當背景圖片,通過重載paintEvent()函數繪制窗口背景
import sysfrom PyQt5.QtWidgets import QApplication,QWidgetfrom PyQt5.QtGui import QPixmap,QPainter,QBitmapclass MyForm(QWidget): def __init__(self,parent=None): super(MyForm, self).__init__(parent) #設置標題與初始窗口大小 self.setWindowTitle(’不規則窗口的實現例子’) self.resize(560,390) def paintEvent(self, QPaintEvent): painter=QPainter(self) #在指定位置繪制圖片 painter.drawPixmap(0,0,280,390,QPixmap(r’./images/dog.jpg’)) painter.drawPixmap(280,0,280,390,QBitmap(r’./images/dog.jpg’))if __name__ == ’__main__’: app=QApplication(sys.argv) form=MyForm() form.show() sys.exit(app.exec_())
運行效果如下
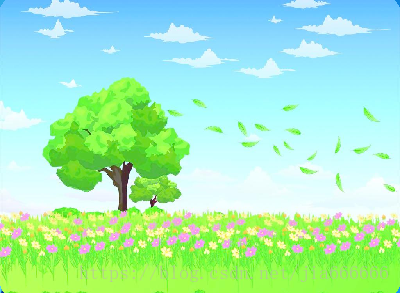
使用兩張圖片,一張用來做遮罩來控制窗口的大小,然后在利用paintEvent()函數重繪另一張為窗口的背景圖。
import sysfrom PyQt5.QtWidgets import QApplication,QWidgetfrom PyQt5.QtGui import QPixmap,QPainter,QBitmapclass MyForm(QWidget): def __init__(self,parent=None): super(MyForm, self).__init__(parent) #設置標題與初始窗口大小 self.setWindowTitle(’不規則窗口的實現例子’) self.pix=QBitmap(’./images/mask.png’) self.resize(self.pix.size()) self.setMask(self.pix) def paintEvent(self, QPaintEvent): painter=QPainter(self) #在指定位置繪制圖片 painter.drawPixmap(0,0,self.pix.width(),self.pix.height(),QPixmap(r’./images/screen1.jpg’))if __name__ == ’__main__’: app=QApplication(sys.argv) form=MyForm() form.show() sys.exit(app.exec_())
運行效果如下
第二個窗口的實例是不可以拖動的,這里實現可以拖動的功能
import sysfrom PyQt5.QtWidgets import QApplication, QWidgetfrom PyQt5.QtGui import QPixmap, QPainter, QCursor, QBitmapfrom PyQt5.QtCore import Qtclass ShapeWidget(QWidget): def __init__(self, parent=None): super(ShapeWidget, self).__init__(parent) self.setWindowTitle('不規則的,可以拖動的窗體實現例子') self.mypix() # 顯示不規則 pix def mypix(self): #獲得圖片自身的遮罩 self.pix = QBitmap('./images/mask.png') #將獲得的圖片的大小作為窗口的大小 self.resize(self.pix.size()) #增加一個遮罩 self.setMask(self.pix) #print(self.pix.size()) self.dragPosition = None # 重定義鼠標按下響應函數mousePressEvent(QMouseEvent) # 鼠標移動響應函數mouseMoveEvent(QMouseEvent),使不規則窗體能響應鼠標事件,隨意拖動。 def mousePressEvent(self, event): #鼠標左鍵按下 if event.button() == Qt.LeftButton: self.m_drag = True self.m_DragPosition = event.globalPos() - self.pos() event.accept() self.setCursor(QCursor(Qt.OpenHandCursor)) if event.button() == Qt.RightButton: self.close() def mouseMoveEvent(self, QMouseEvent): if Qt.LeftButton and self.m_drag: # 當左鍵移動窗體修改偏移值 self.move(QMouseEvent.globalPos() - self.m_DragPosition) QMouseEvent.accept() def mouseReleaseEvent(self, QMouseEvent): self.m_drag = False self.setCursor(QCursor(Qt.ArrowCursor)) # 一般 paintEvent 在窗體首次繪制加載, 要重新加載paintEvent # 需要重新加載窗口使用 self.update() or self.repaint() def paintEvent(self, event): painter = QPainter(self) #在指定位置繪制圖片 painter.drawPixmap(0, 0, self.width(), self.height(), QPixmap('./images/boy.png'))if __name__ == ’__main__’: app = QApplication(sys.argv) form = ShapeWidget() form.show() app.exec_()
運行效果如下

本文主要介紹了python GUI庫PyQt5窗口背景與不規則窗口實例,大家可以參考下,更多關于這方面的文章大家可以點擊下面的相關鏈接
相關文章:

 網公網安備
網公網安備